This week, I’m going to walk through a testing setup that you can implement in about 20 minutes and a test that will cover the entirety of your plugin right off the bat.
But first, I want to talk about why testing is such an issue for WordPress developers. It often starts out with this pain:
“I don’t have time to write tests for my plugin”
I hear that complaint a lot from WordPress developers and it’s not a great attitude to have about the stability of your codebase.
Unfortunately, I think it’s a lack of confidence in what tests to write, or even how to approach a consistent testing environment to write those tests.
There are so many ways to test PHP that it can be paralyzing to get started
Here are a few examples of the questions you have to face when you decide to start writing tests:
- What framework should I use?
- How will other contributors run these tests?
- Where do I even start with writing tests for my plugin?
- How can I write tests when I can’t guarantee return types?
- Do I really have to set up Composer, Docker, and all these other tools?
I could go on further, but I think you get the point.
After the last year and a half, I’ve been trying to level up my process for writing tests.
Here’s how you set up your environment and write the first test I add to every plugin.
Step by step:
Step 1: Configure Necessary Tools
Composer
I’ve already covered how to set up composer in a previous issue so I’d highly recommend working through that, then come back when you have it set up.
WP Browser & Codeception
Now that you have Composer set up, you’ll need to install WP Browser. You can do that through this command:
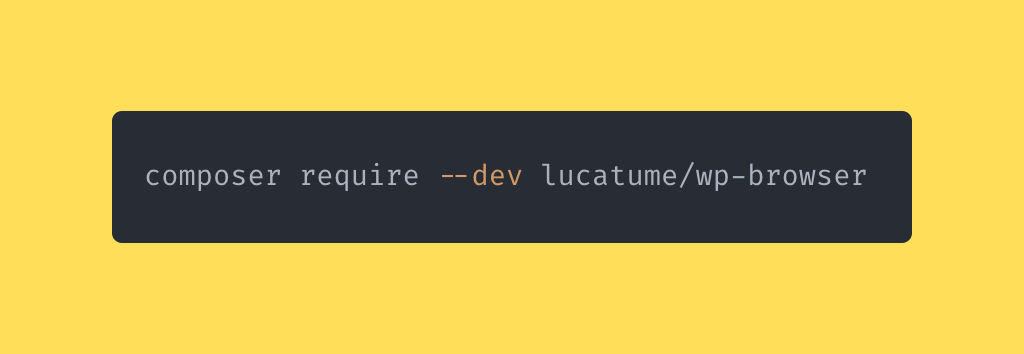
You’ll want to use the --dev flag to make sure that these dependencies are only required when working in a development environment. You wouldn’t want your users to have a full testing framework running on their site when it’s not ever going to be used.
Next, install the codeception dependencies that wp-browser needs (per the documentation):
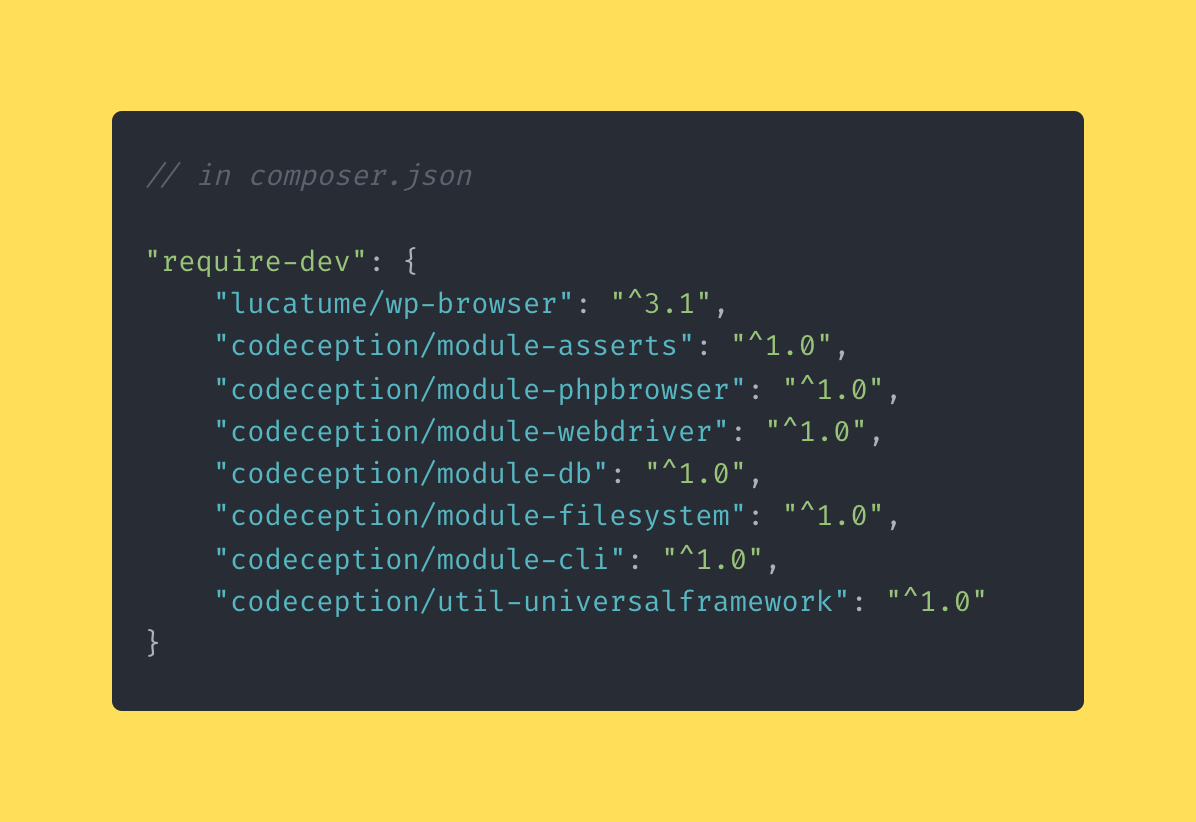
Once you add those packages to your composer file, running composer update should pull in the necessary packages.
From here, you’ll need to step through the wp-browser set up process. Make sure you are in the root of your plugin and run:
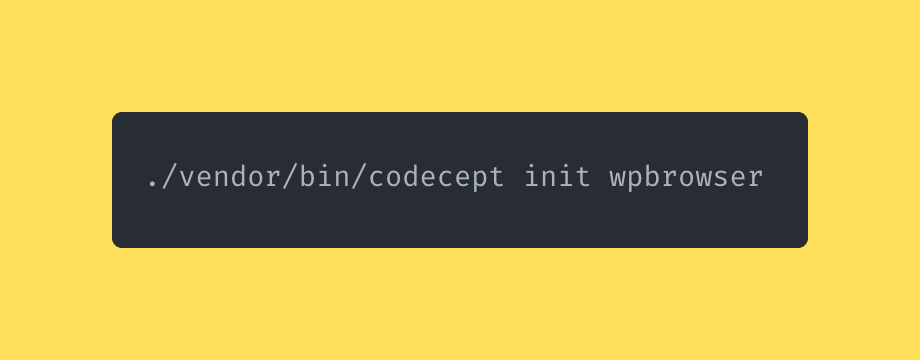
WP Browser will ask you lots of questions (most of which you can leave the default set).
The only one you should pay attention to is “What is the folder/plugin.php name of the plugin” and you’ll want to update to the folder/filename of the plugin you are configuring.
Step 2: Set Up Slic
Next, you’ll need to install and configure Slic.
Slic is a CLI tool that, from the README, “automatically configures a Codeception testing environment so you don’t have to.”
Basically, your entire testing environment is handled by Slic so all you have to worry about is writing your tests.
Great, right?
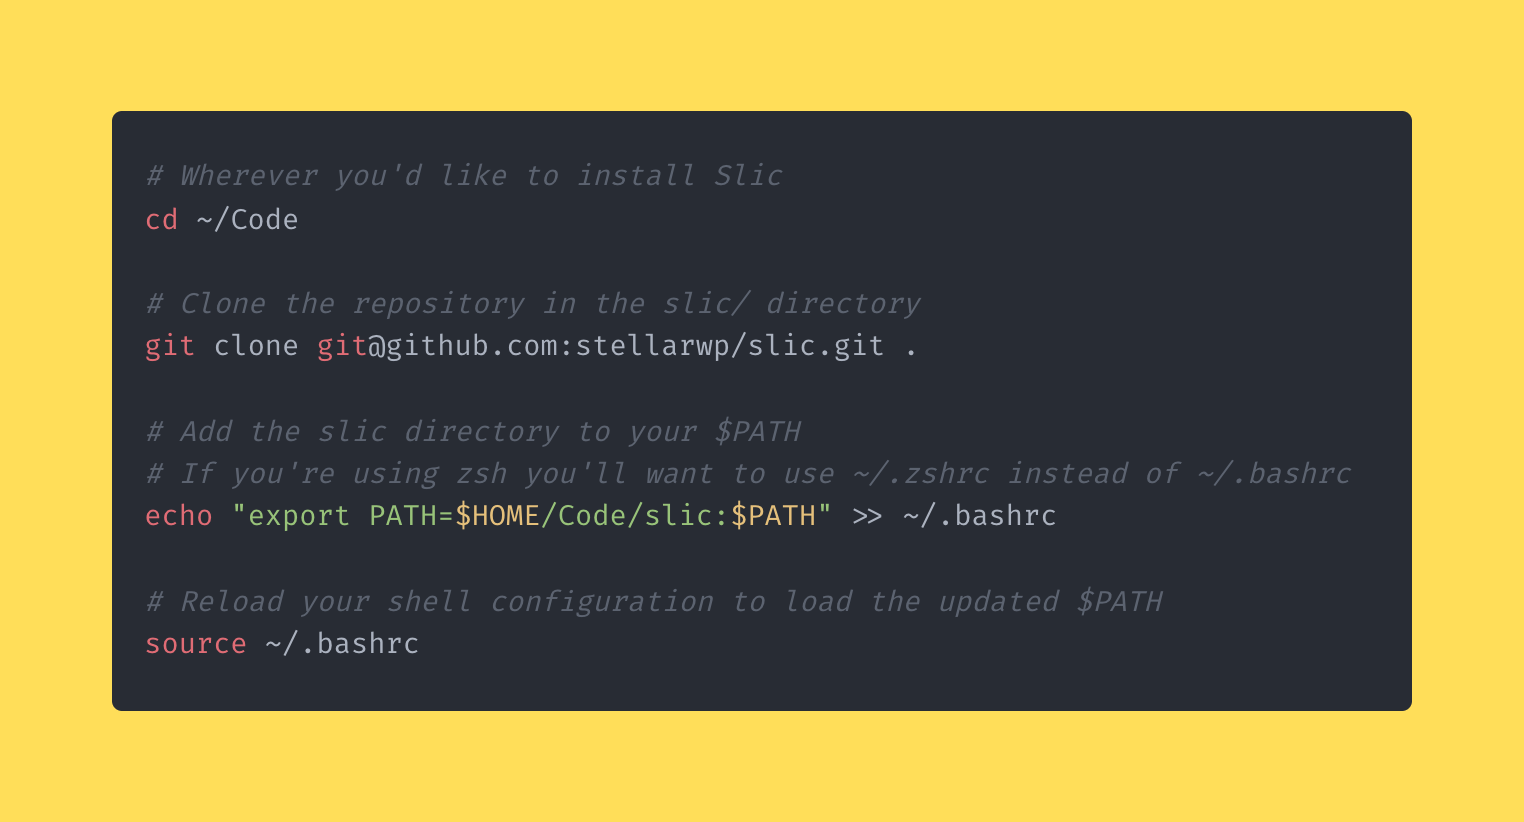
Download & Install Slic
You can install Slic by cloning the repository on your local machine and adding it to your path—which makes the slic command globally available:
Now you can run the slic command and you should see the help output.
Configure Slic For Your Plugin
Once slic has been installed, move into the directory just above your local plugin’s directory (this can be anywhere on your machine).
For example, if my plugin is located in ~/Code/my-plugin I would need to be in ~/Code.
Once there, run:
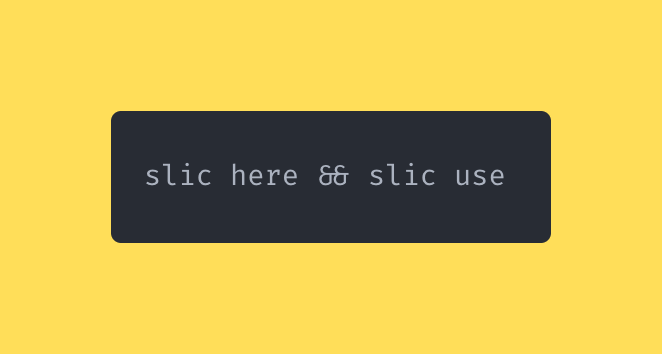
Slic will configure itself and show you a list of Plugins that you can choose to use. You should see your plugin in that list. Then, run:
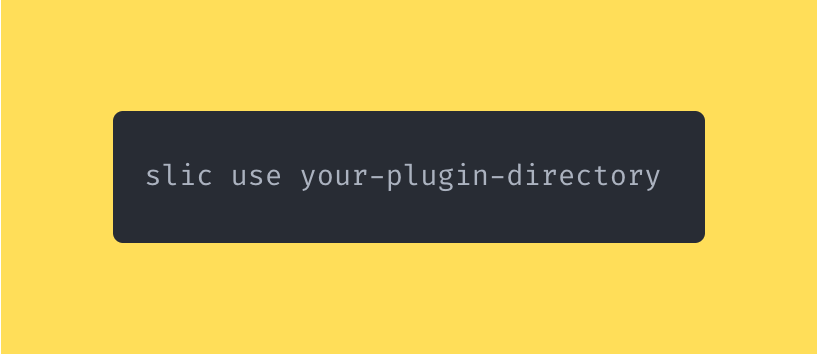
That tells slic the directory it should use when loading up your plugin.
Now that you’ve told slic everything it needs to know, you can run:
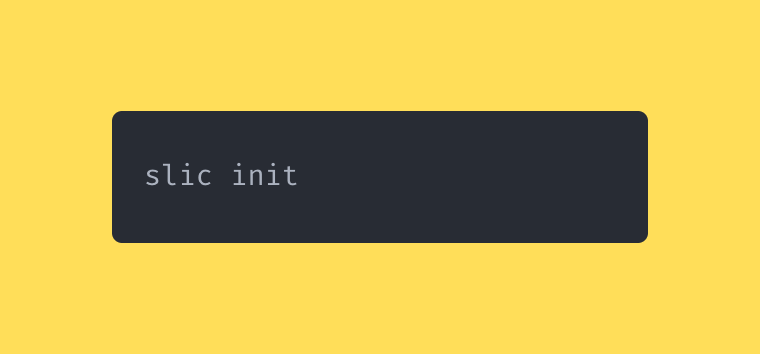
This adds a .env.testing.slic and codeception.slic.yml which are the unique configuration files slic will need when running tests for your plugin.
Set up Database Dump For Consistent WordPress Testing Environment
And finally, you’ll need to add a database export that Slic can use when running functional and acceptance tests. Using the export, it will set up a WordPress install before running any tests to make sure that the environment is consistent for each individual test.
You can create your own, or use an export I’ve already created that is a fresh install of WordPress 6.2.2 and matches the config Slic is expecting.
Rename the export dump.sql and move it to your-plugin/tests/_data/dump.sql
Test Running Each Codeception Suite in Slic
Finally, you’re ready to start running through the tests. For each test, you run slic run <suite> and you’ll want to run them individually:
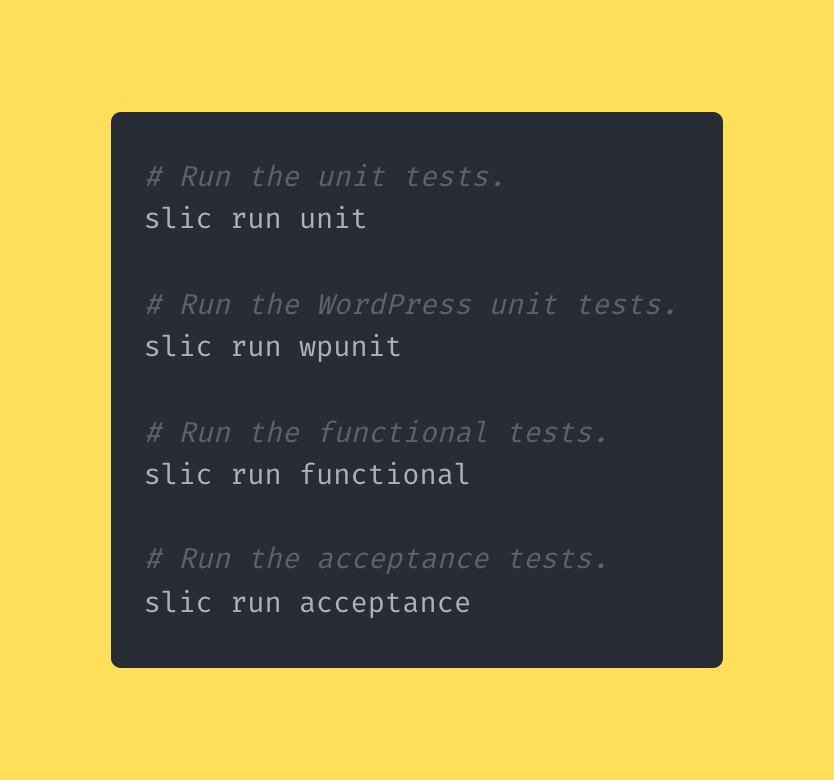
If everything went well, you should see the suite run and “No tests executed!” for each.
Add Your First Acceptance Test
One of the best tests I like to have is a general “Does it work” test.
If a user installs the plugin at the current state, does it activate properly, or does it throw a 500 error?
It’s the very first test I write to make sure my development doesn’t ever break someone’s site as soon as they activate the plugin.
To add a new acceptance test, use codeception to help scaffold up the necessary classes. In the root of your plugin, run:
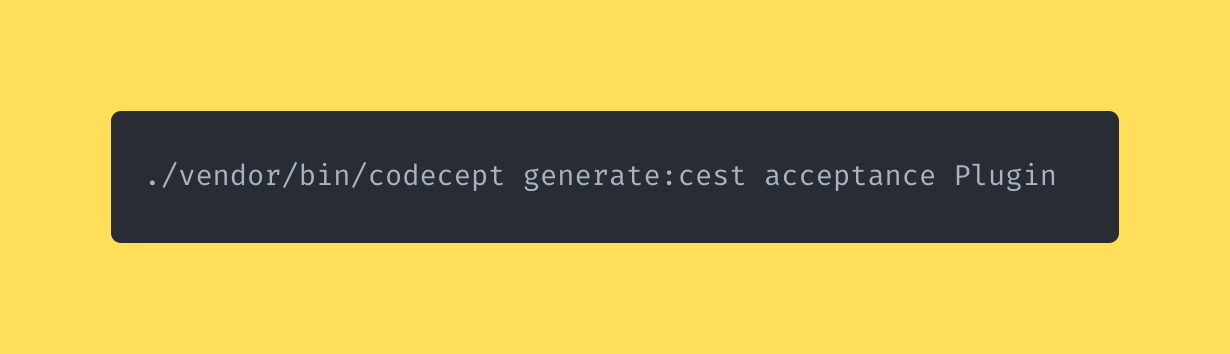
This command will generate a new PluginCest class within your tests/acceptance directory.
Within that file, you should see a simple initial test that’s just an empty method.
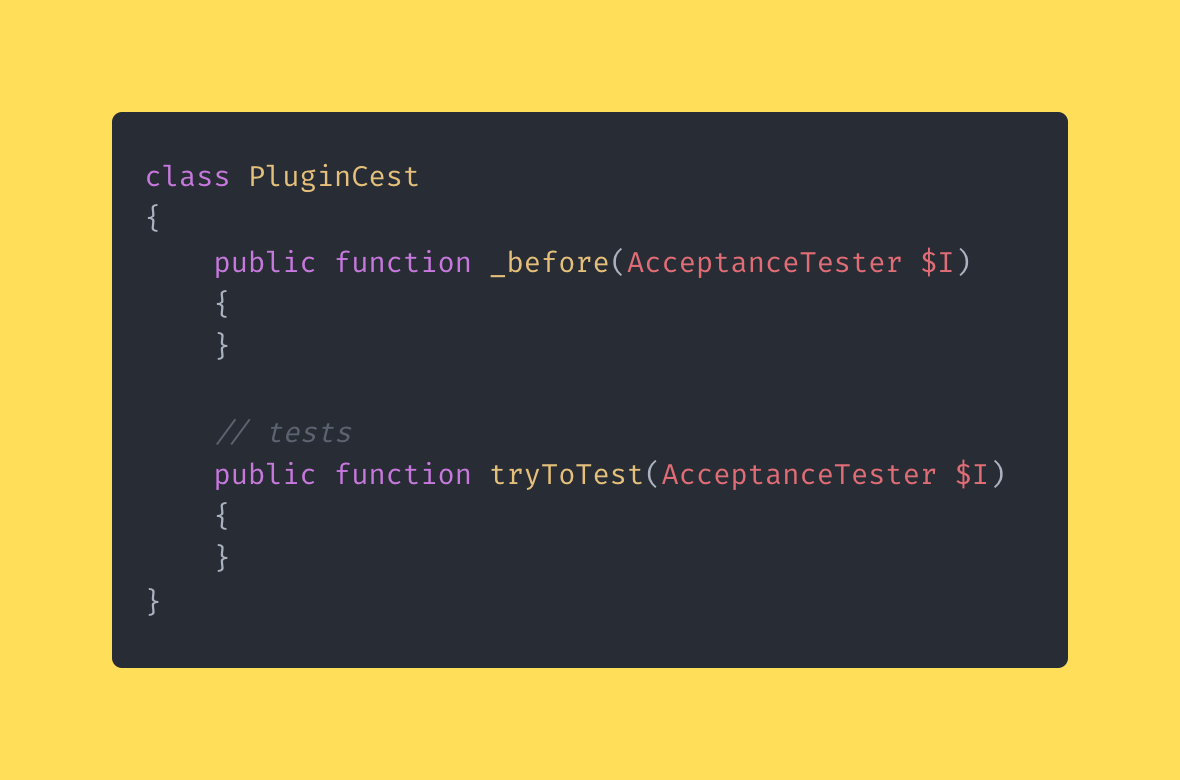
Rename that test method to tryActivatingPlugin and add the following lines:
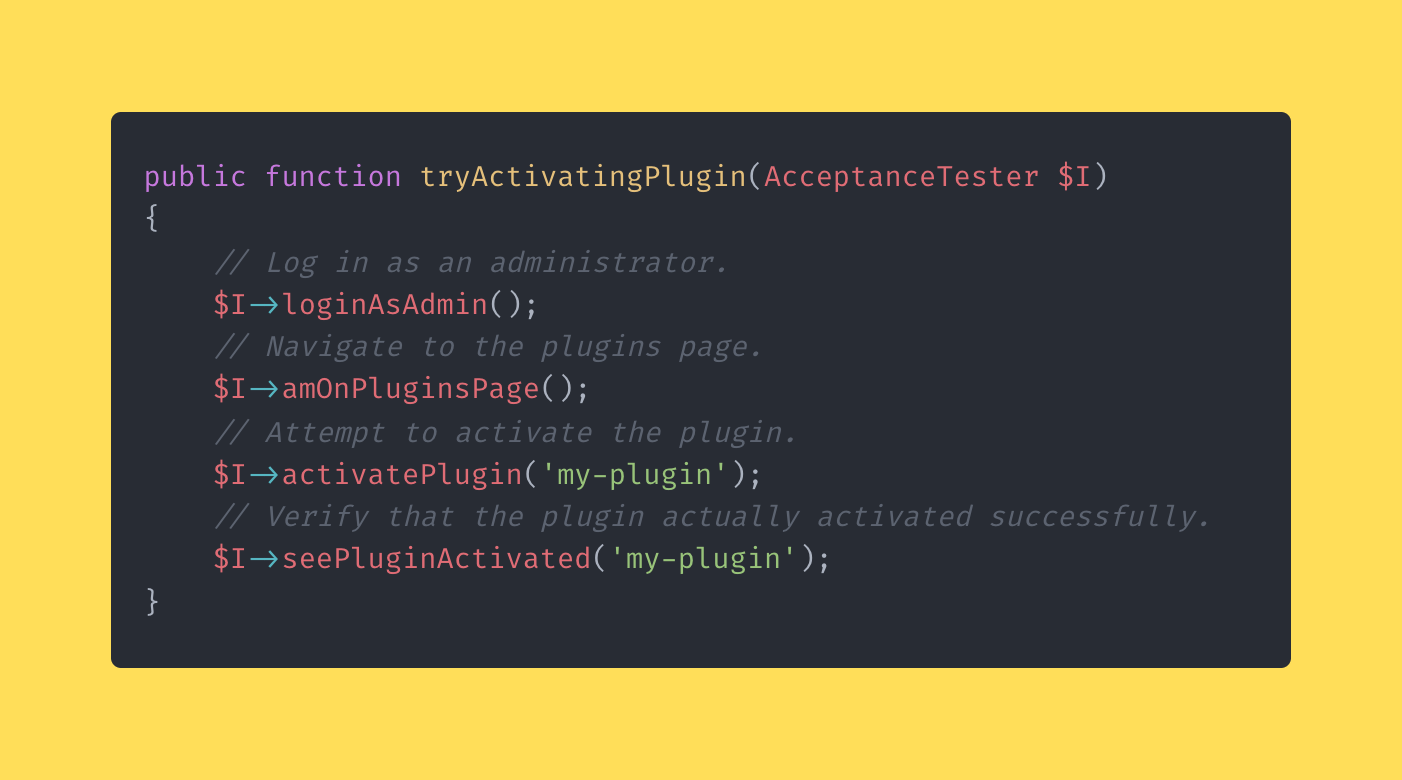
With acceptance tests, you write everything as a step based process from the user’s point of view. So Slic will load up WordPress and run these steps within an actual browser.
With this single test, we can make sure that our plugin doesn’t throw errors because our test would fail. Catching those issues here is going to save you a lot of time and trouble.
In Conclusion
I know it was a bit of a longer issue, but testing is such a big topic and I wanted to make sure you have a full test suite up and running in a single issue.
Let me know what you thought of it, did you run into any errors? Are you planning to start writing tests for your plugin?