This week, I’m going to explain how you can set up Composer for WordPress plugins.
Plugins can be as simple as a single PHP file with a few functions.
But over time they can grow with new features that span several files and lots of different folders with several dependencies.
WordPress itself has hundreds of files that provide its robust functionality.
Splitting up code into multiple files is more organized and helps keep projects maintainable.
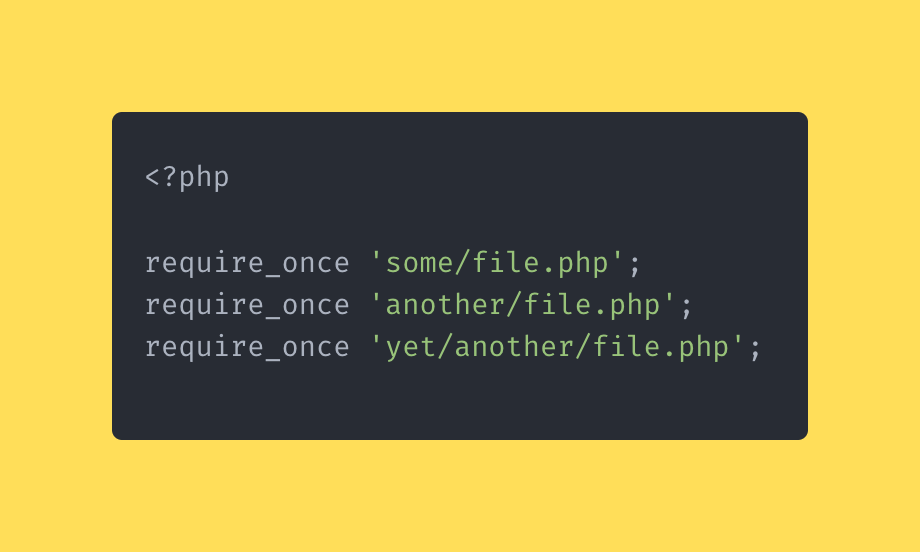
Early on though, I didn’t know how to manage all those individual files and my main plugin file looked like a mess of includes and requires:
Once I learned how Composer worked and spent time digging in to understand why a dependency management library is important, I can’t remember the last time I used multiple require_once functions in my code.
Unfortunately, there are still developers that don’t utilize composer in their development.
Composer solves autoloading PHP files and pulling in 3rd party dependencies
Composer:
- Handles autoloading out of the box
- Let’s you use namespaces to encapsulate your code
- Provides opportunity to use 3rd party battle-tested libraries
- Provides the architecture for working with more Modern PHP concepts
Implementing Composer is quick and in the next few minutes we’re going to walk through it together.
Step 1: Install Composer
First, install composer globally on your machine (assuming you are on a mac):
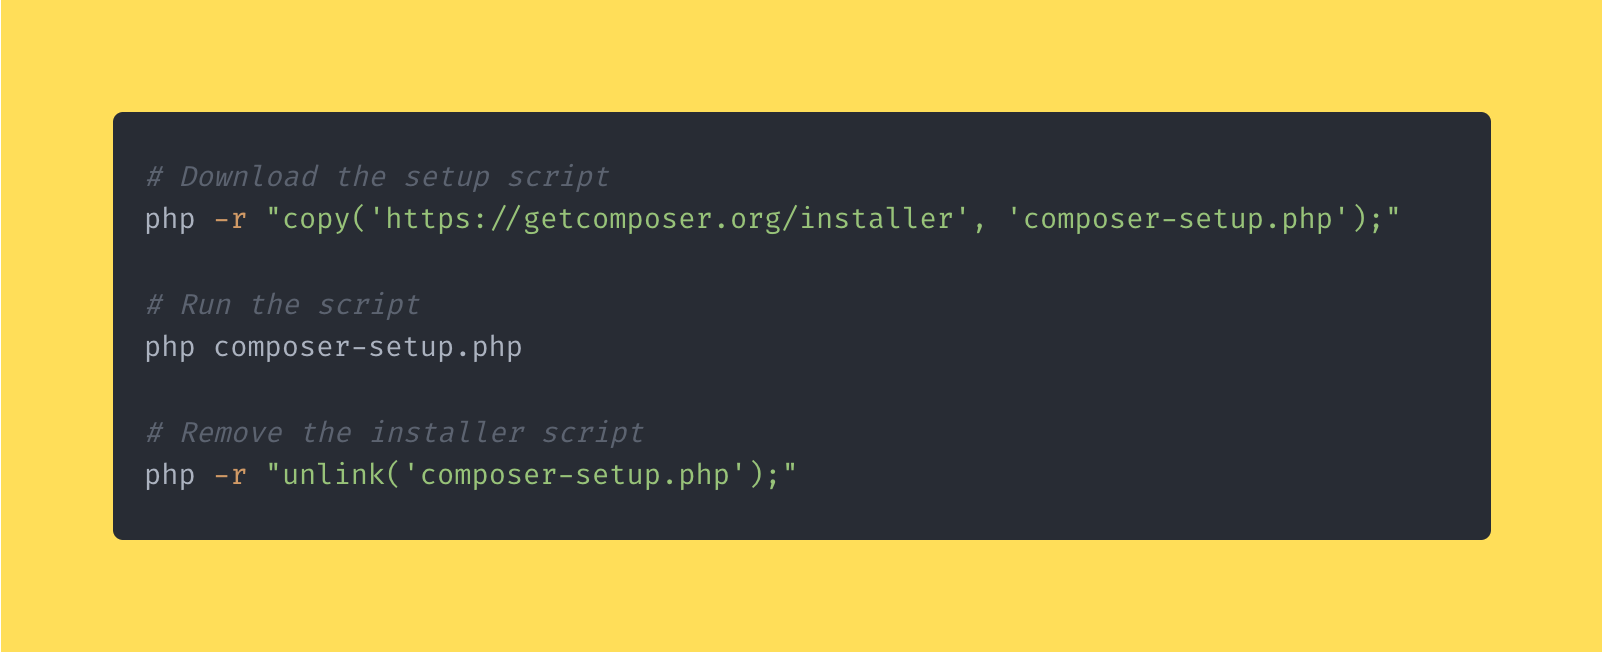
When you have finished running these commands, you should have a composer.phar file in the directory you ran the installer in.
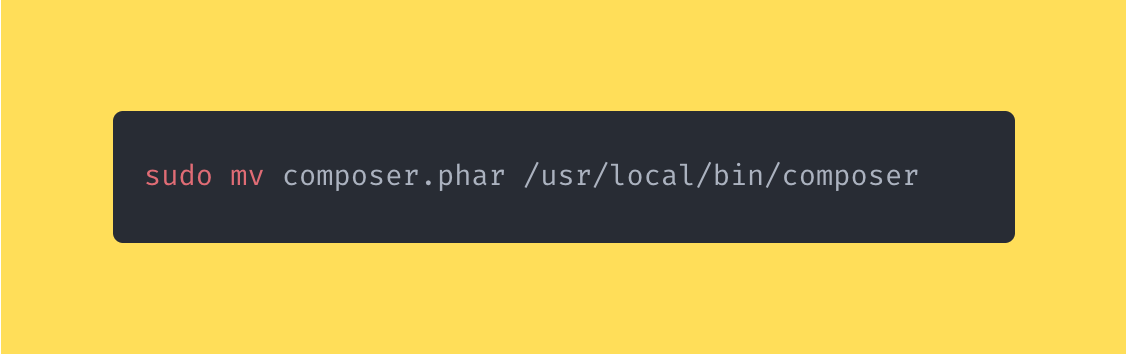
You can move that into a new directory that is within your path so you can run composer from anywhere in your terminal:
Step 2: Set up your autoload configuration
Now that you have composer set up, you can initialize it for your project by running this command in the root directory of your plugin:
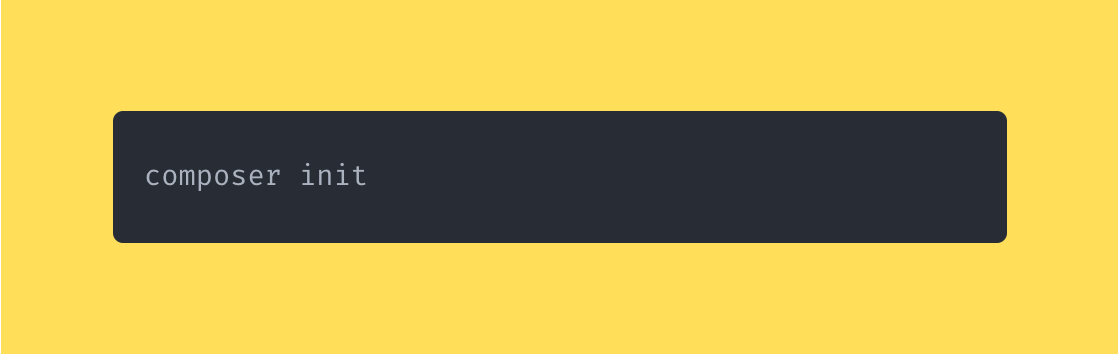
This command will ask you a few questions that will help walk you through generating a composer.json configuration file for your plugin.
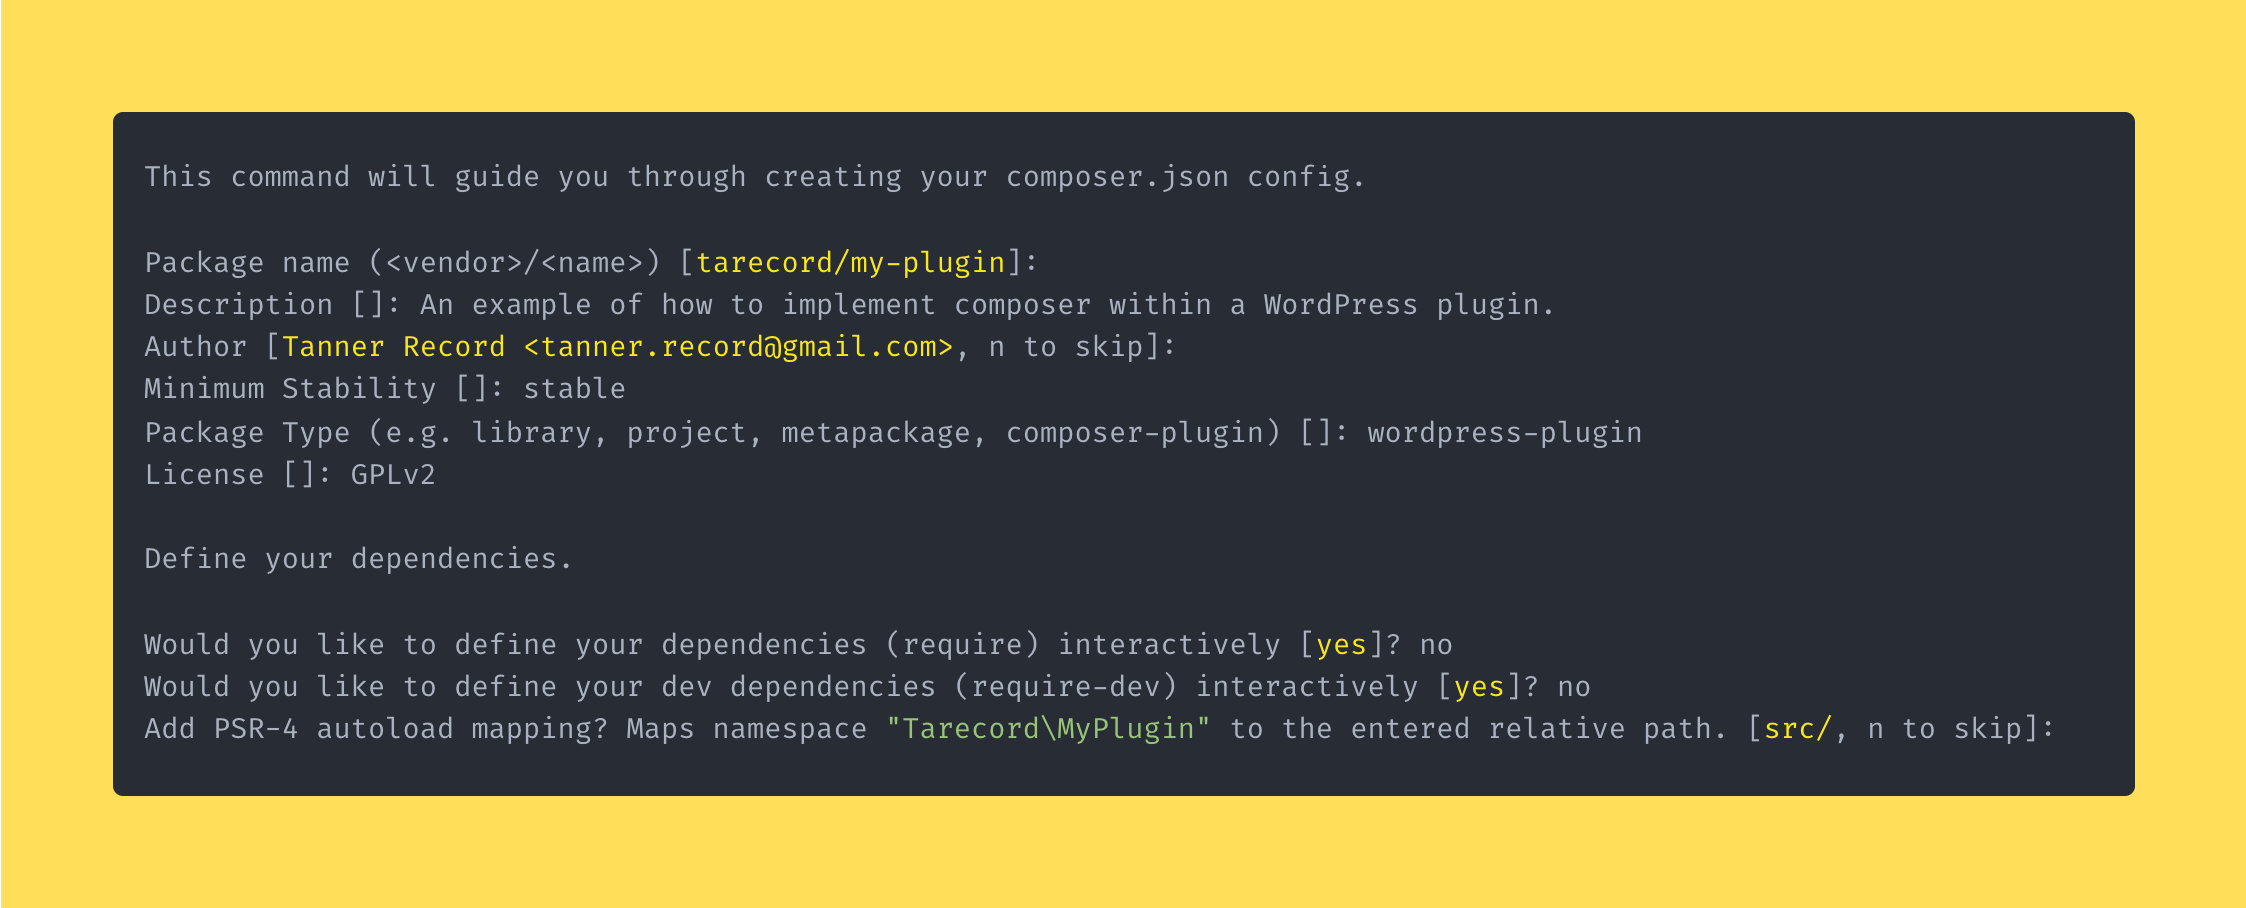
Once you’ve answered these questions, composer will automatically generate the composer.json in the root of your plugin.
All that we need to do to load up Composer’s autoloader and take advantage of it is require it at the top of the main plugin file:
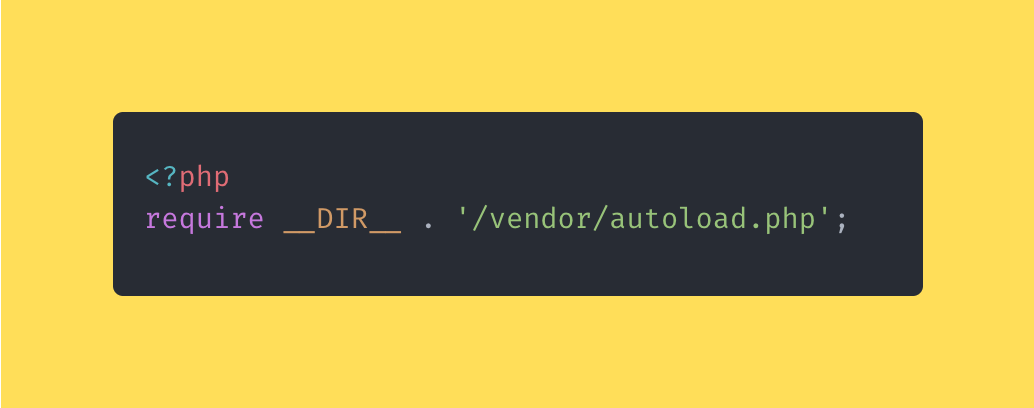
note: Composer added the vendor/ folder when it initialized and created composer.json
Now, everywhere in our plugin, we can reference the autoloaded classes contained in the src/ folder Composer created for us.
Step 3: Organize Your Plugin’s File Structure
When using Composer to handle your autoloading, folder and file structure need to be in the correct format.
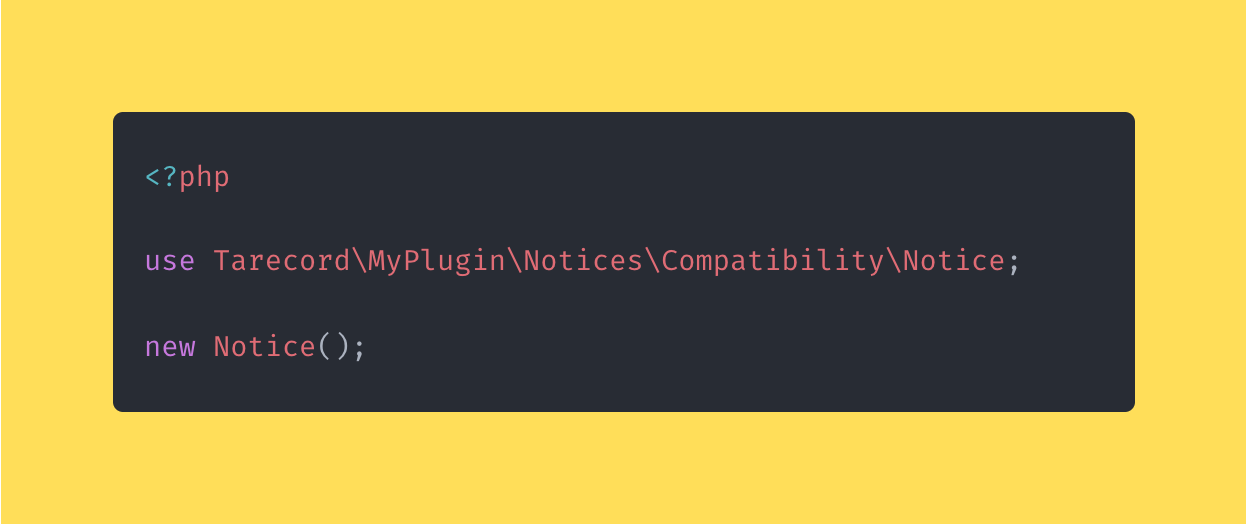
That means that any class located within the src/ directory that has namespace Tarecord\\MyPlugin will be autoloaded with Composer.
For example, if we have a class that we want to use that’s located in my-plugin/src/AdminNotices/Compatibility/Notice.php then we can reference it by it’s namespace:
Now that we have access to Composer’s autoloader, we no longer have to use requires or includes to load up class files before using them.
Composer will look at the namespace of the class being used and automatically require the correct file.
In Conclusion
Understanding how Composer works to include files automatically is fundamental to writing modern PHP within the context of WordPress.
There is a Pull request pending right now that talks about adding an autoloader to WordPress as a way to simplify the process. It’s not using Composer, but it’s a step in the right direction and will be useful if it’s implemented.
If you’d like to learn more about autoloading and namespaces, here are some resources I found that do a great job explaining how to use them in your development: