Recently, I’ve been working with a new tool for local WordPress development called Lando.
Running WordPress on your local machine is essential to being a productive plugin developer.
- There is no cost for hosting
- There is no risk testing new features
- There is no risk to breaking a live or production server
Your computer provides all the tools you need to develop, debug, and test out your plugin efficiently.
However, there are so many different ways to set up a WordPress environment on your local machine, it’s hard to choose just one.
Lando solves some key problems of local development:
- Sites should be isolated from each other
- Additional Tools (e.g. caches) should be easy to configure
- The configuration should be usable by anyone to easily replicate an environment
Of all the local development tools I’ve used, Lando is one of the easiest and most configurable.
Let’s walk through how to set it up.
Step 1: Install Docker and Lando
First, you’ll need to have Docker Desktop installed so you can run virtual docker instances. Lando uses these containers to construct your local environment.
Next, install the Lando application . The documentation is helpful and the download page gives you an example of how to set up a local site in 4 CLI commands.
Step 2: Create a Configuration File
Once you’ve installed Lando, you can create a configuration file easily with the init command:
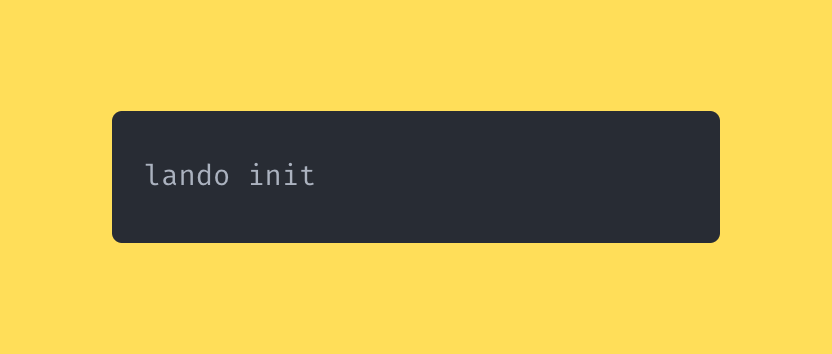
From there, it will ask you a series of questions to help you set up your own configuration file.
First, create a new directory and run Lando init within that new directory. Lando will ask you some initial questions to help guide you in the right direction:
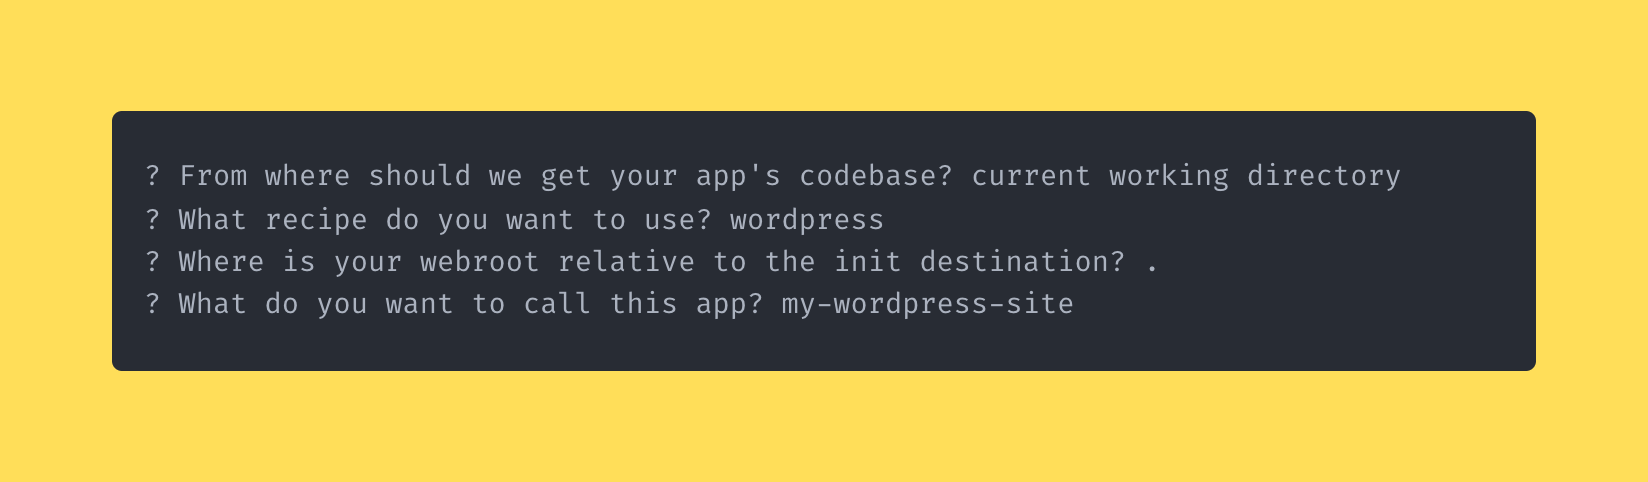
When you finish answering those questions, Lando will generate a .lando.yml file in the current directory and that’s all you need to start up your local environment.
This file should be checked into version control and stored alongside your plugin code so that others can spin up the same development environment.
Step 3: Start Up Your Lando Environment
Starting up Lando environments is quick, just change into the directory of your project that contains your .lando.yml file and run lando start:

You’ll see the process kick off and lando will begin to set up your containers and start them up.
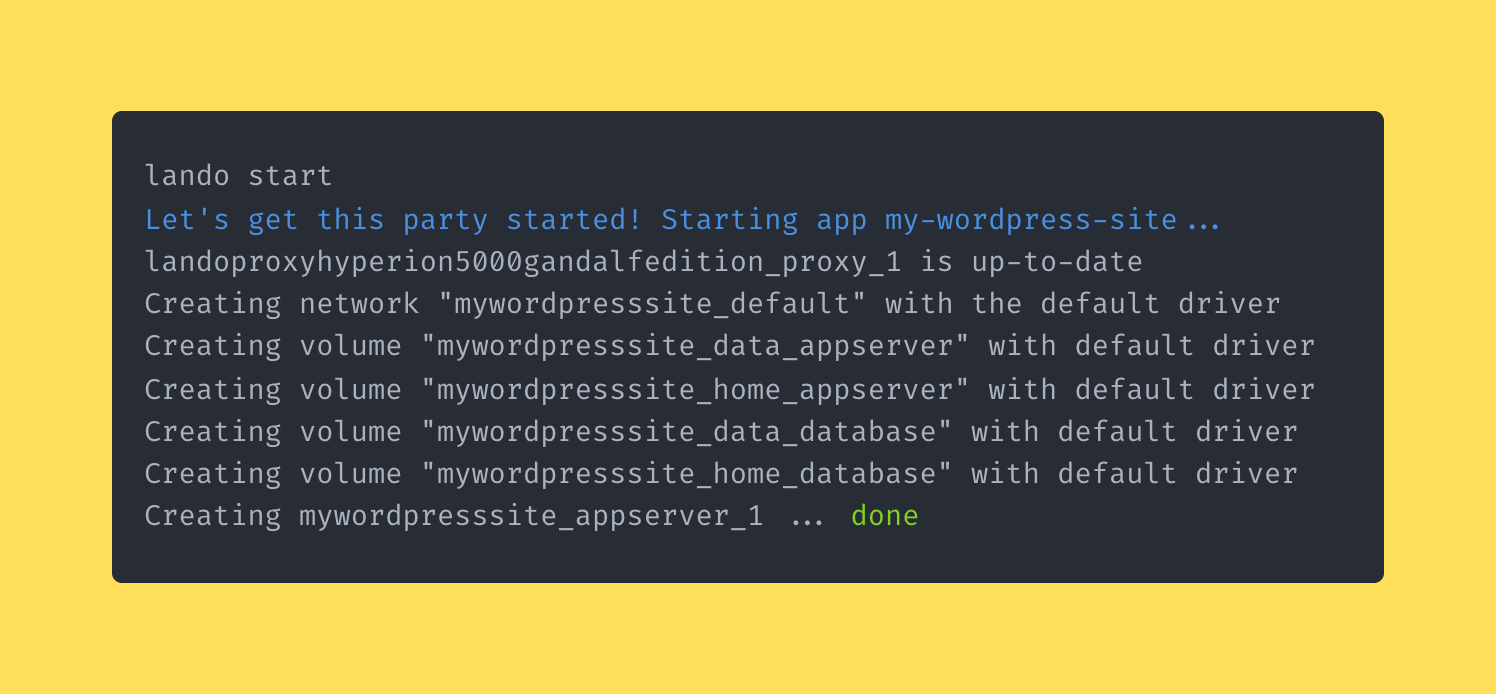
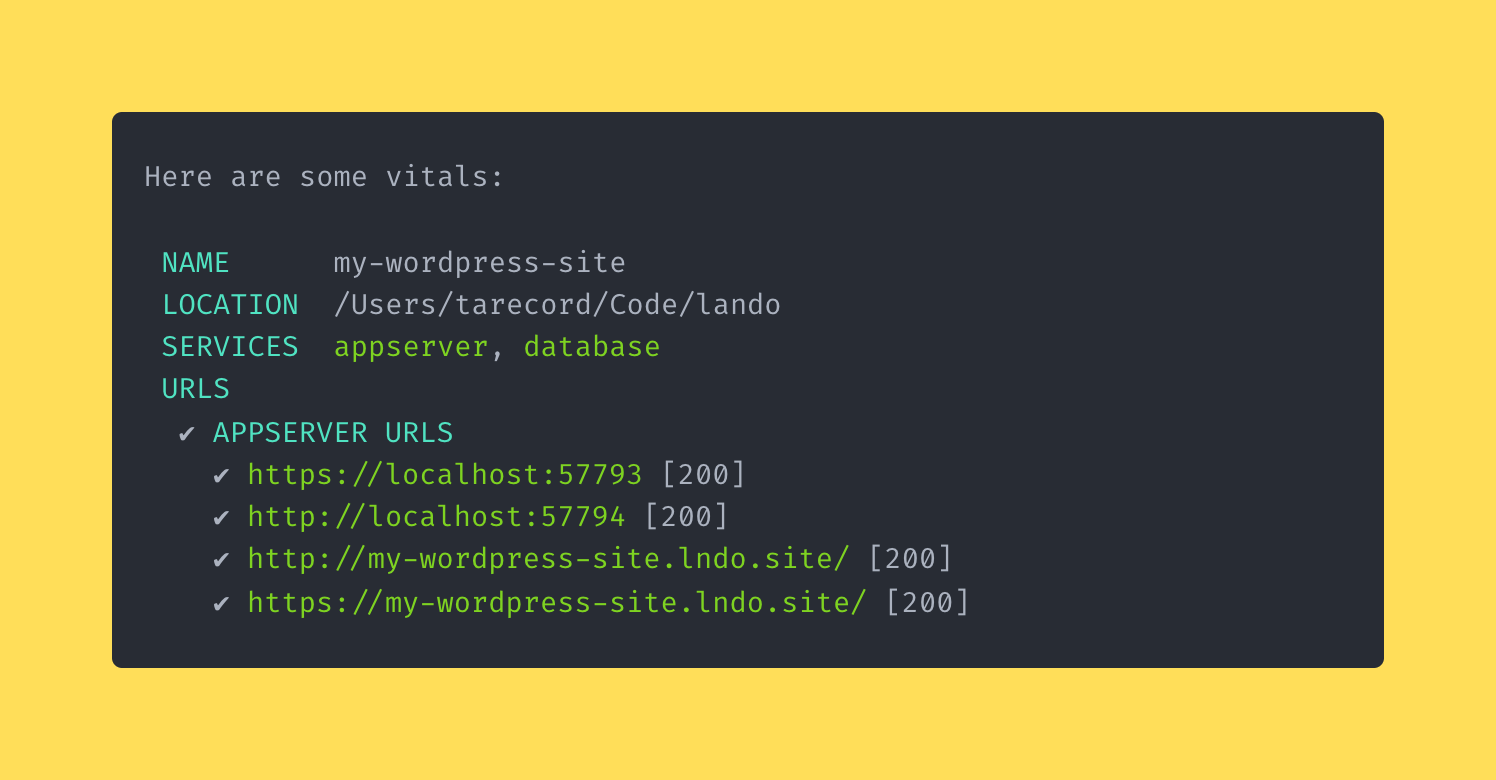
When you see a list of the domains ending with .lndo.site, Lando has successfully booted and your local environment is ready for development.
Step 4: Add Your Plugin To The Environment
Once you’ve successfully booted up Lando, you can get your plugin set up in the environment.
Navigate into your project’s directory and place your plugin’s source code within wp-content/plugins/[your-plugin].
Once you’ve done this, you can do all your development directly within the project.
You’re development process will be faster now that your developing locally.
If you’re interested, take a look back at the docs for Lando. There are quite a few useful utilities that it provides.
In Conclusion
Lando is a great solution if you want a quick system to spin up environments for your plugin development process.
It helps you:
- Keep your local environments isolated from each other
- Easily add Additional Tools (e.g. Redis cache or Mailhog)
- Share a small config file for collaborators to spin up an identical environment
Take a few minutes today and try setting up your local environment, you won’t regret it.